Insomnia
Insomnia is a free cross-platform desktop application that takes the pain out of interacting with and designing HTTP-based APIs. Insomnia combines an easy-to-use interface with advanced functionality like authentication helpers, code generation, and environment variables.
You can access its web site page at Insomnia Web Site.
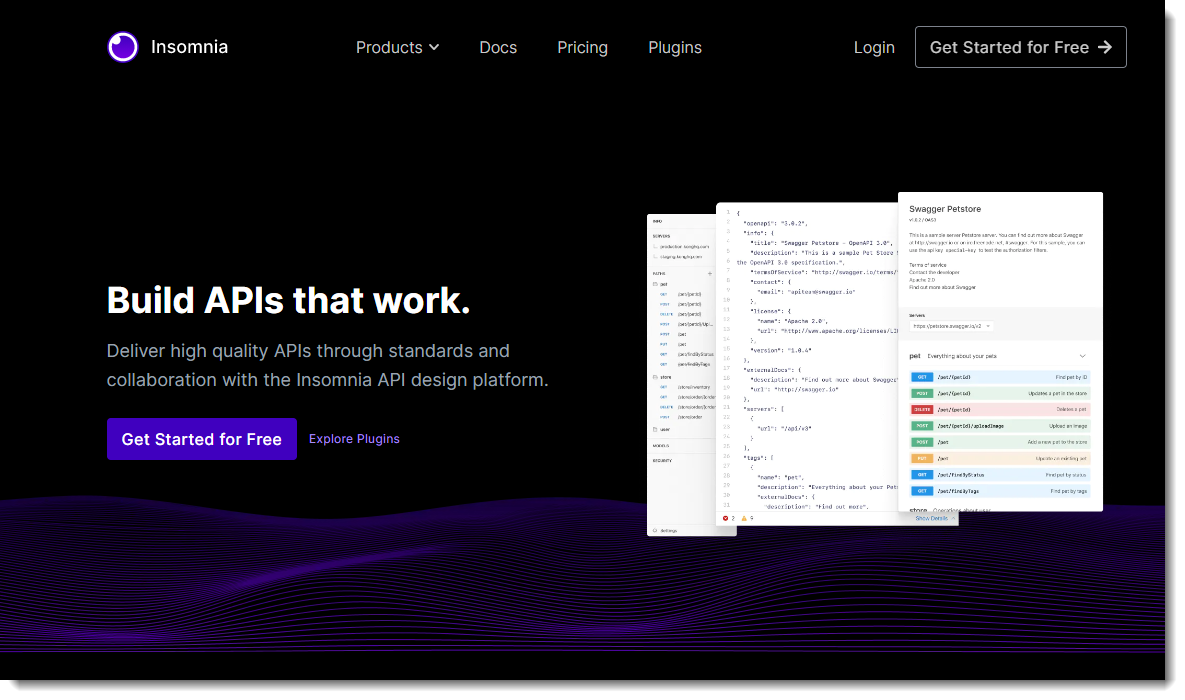
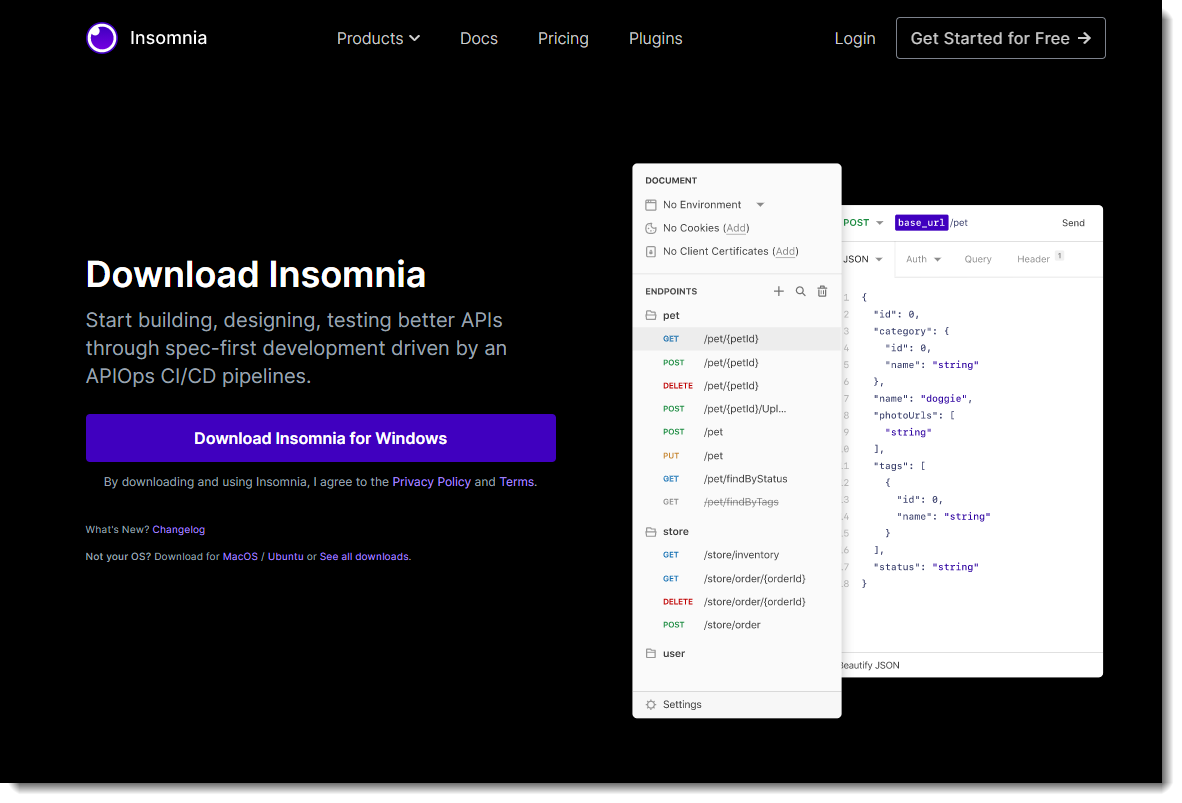
Here is the direct link for the download page.
|
This document is based on the UI for version 2021.3.0. |
Features
-
Create and send HTTP requests
-
Authorization header helpers
-
Maintains responses history per request
-
Manages cookies like a web browser does
-
Use certificates for client authentication
-
Generate code snippets
-
View raw HTTP traffic
-
Environment and variables
Configuration
Get the installer from the download page and execute its installer to have it available in your operating system.
When you run it for the first time, you will be presented with the onboarding screen.

After you do this process you are presented with the home screen.
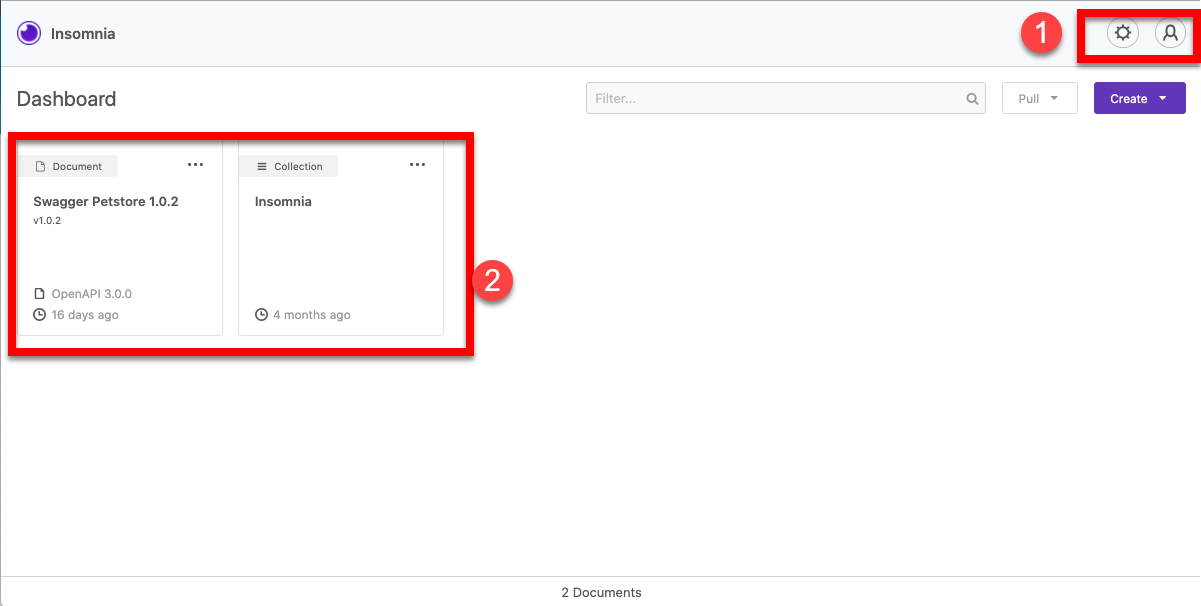
Where in the image:
-
Indicates the section where you can configure and set you as an user.
-
The list of workspaces or document/collections registered in the system.
By default Insomnia is installed with a Document, which allows to design your API named Swagger Petstore 1.0.2 and a Collection which allow to place your ÄPI requests named Insomnia as it is shown in the image above.
Here you can create request collection or design an API. Most of the time as developers we use this tool as a Request Collection and as such this document focuses in explaining how to create a request and setting up the environment variables.
|
There are a lot of features that the application has and it will not be covered here. |
Using Insomnia
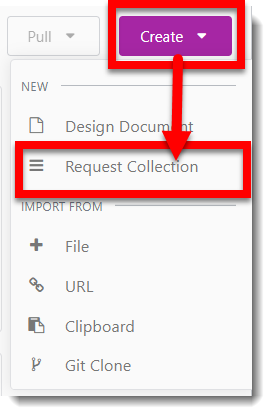
Let’s begin our journey by creating a new Collection. To do so, locate the button Create
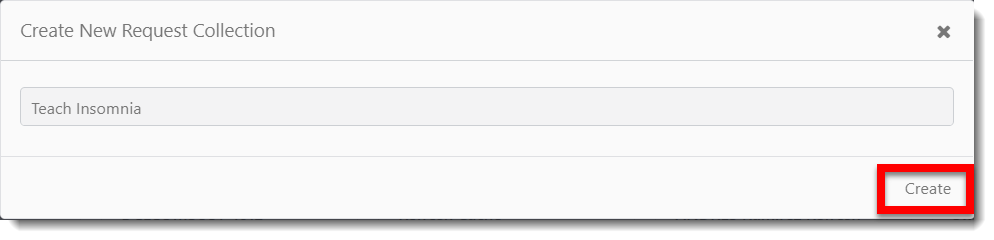
Then it shows up a dialog to name the request collection, for the purpose of this document it is named Teach Insomnia.
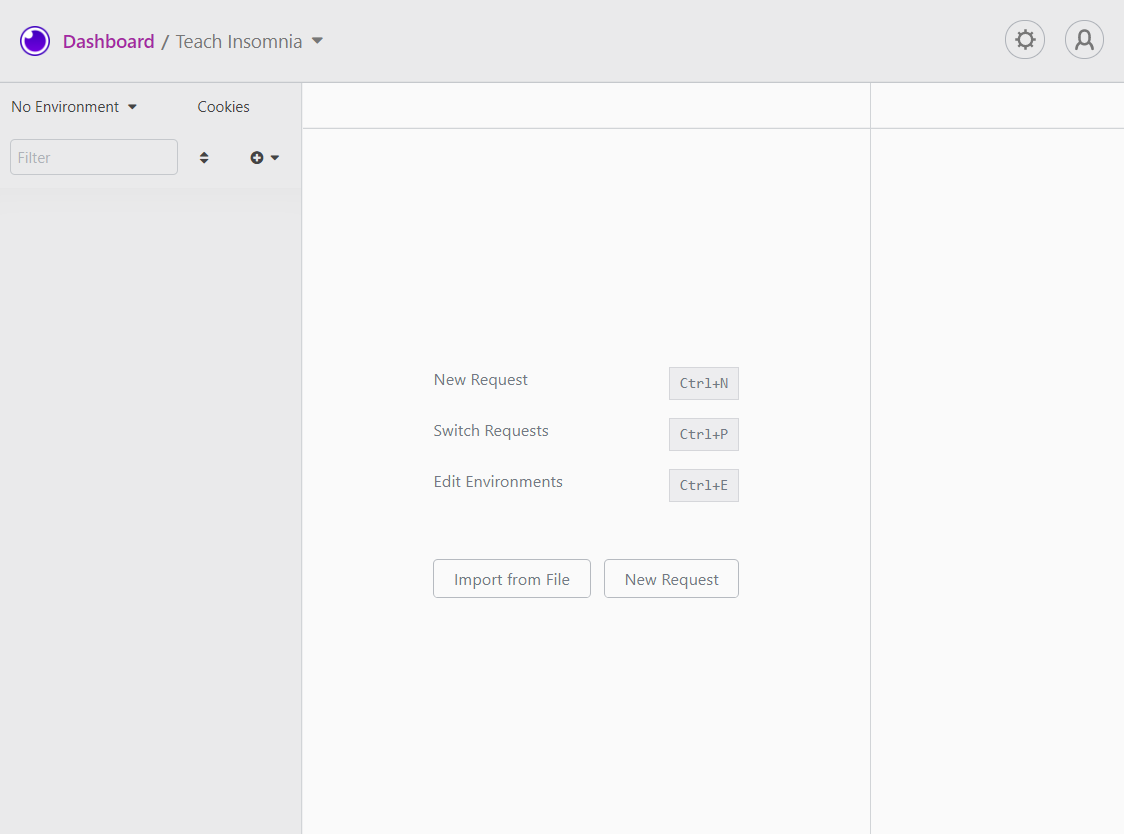
You will see a place to start working with your request collection.
|
As we need to explain how to create Environment settings for a request, this guide uses a Spring Boot generated app in order to simulate environments for a request. The named environments will be LATEST, STAGE, LOAD, PROD which are a typical environments which a developer needs to test its API. |
The endpoint we will be using is the following:
$ curl 'http://localhost:8080/api/v1/hello/say/LATEST' \ (1) (2)
--compressed| 1 | http://localhost:8080 is the host, port for the endpoint, an environment variable is set around this. |
| 2 | LATEST is the parameter we pass to the endpoint to indicate that it knows which environment was sent. This is configured via an environment variable. |
Notice that we use here a command line util to request data over HTTP in terminal window. In insomnia you can create a new request by importing that command and it will take care of registering it into the system in their constituent parts as query parameters, headers, etc.
In what follows, we will convert that URL to use environment configuration to allow it to be used for different environments as mentioned earlier.
Creating a request
Let’s create our first request. Click in the button New Request or use the keyboard setting for that depending on your operationg system.
|
It is left to you to read the documentation of the Insomnia application to find the different ways to create a request. |
The following appears
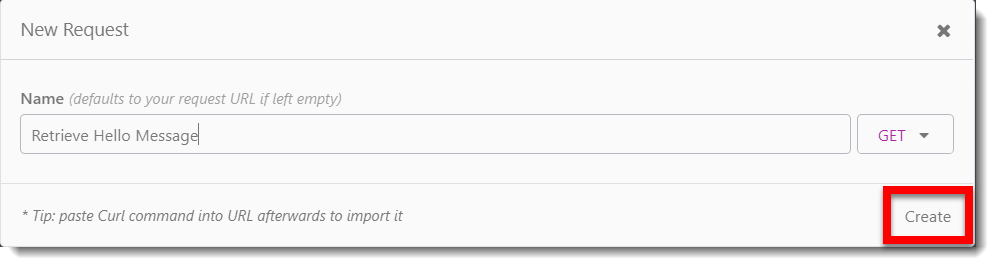
Here you name it whatever you like, for this example it is named as Retrieve Hello Message, click then in the Create button.
The system presents you with a work area where you can start configuring your request. We use here a quick import for that definition.
Import Request
Select and copy the curl command we presented before and paste it in the URL input box for the request as shown next.
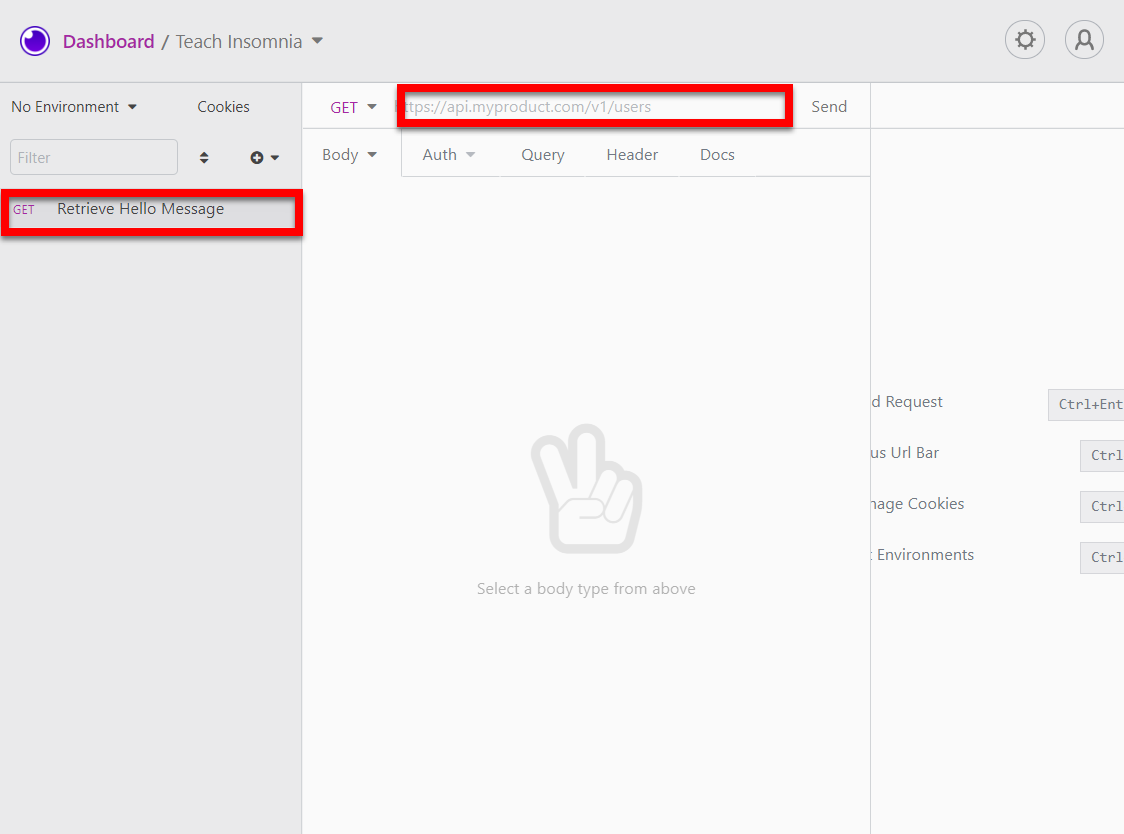
After the text is there, click in the Send button to the left of it, Insomnia will parse your command and configure your request in the different constituent parts as you can see in the various tabs and method verb used.
Now we have a working request. Next, it is time to configure the environments in order to accomplish our usage of getting calls to any environment, be it LATEST, STAGE, LOAD, LOCALHOST or PROD.
Configuring Environments
In the upper left of the screen you see an option named No Environment with a down arrow, click on it, a drop down shows up, select the Manage Environment there, a popup window will show.
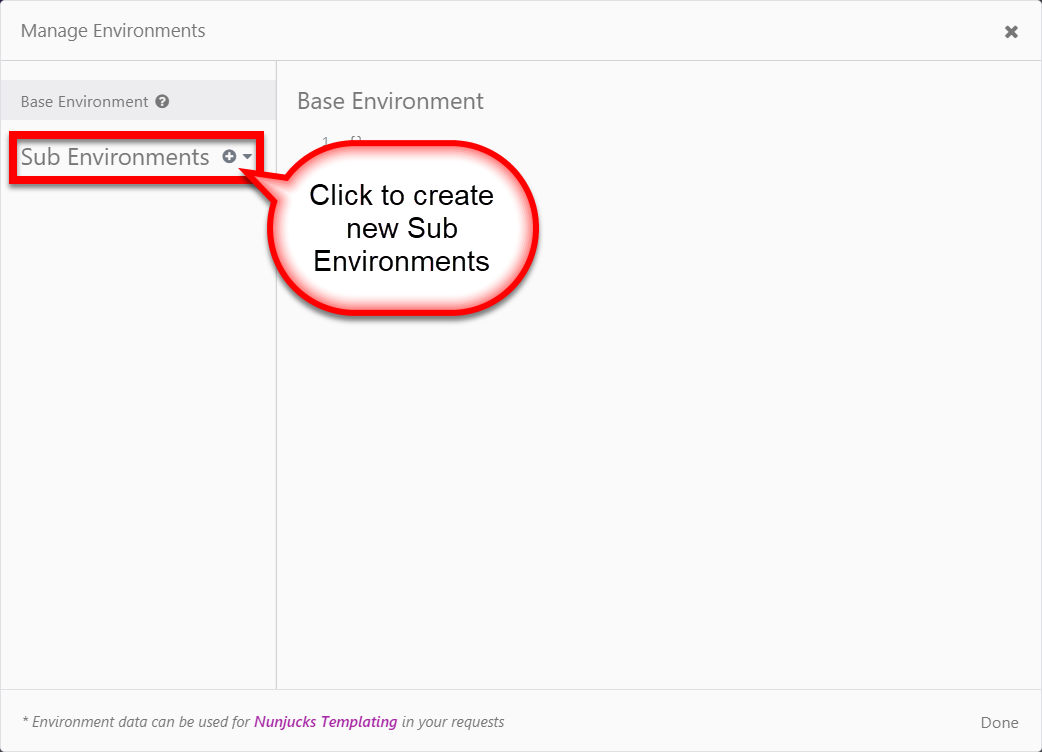
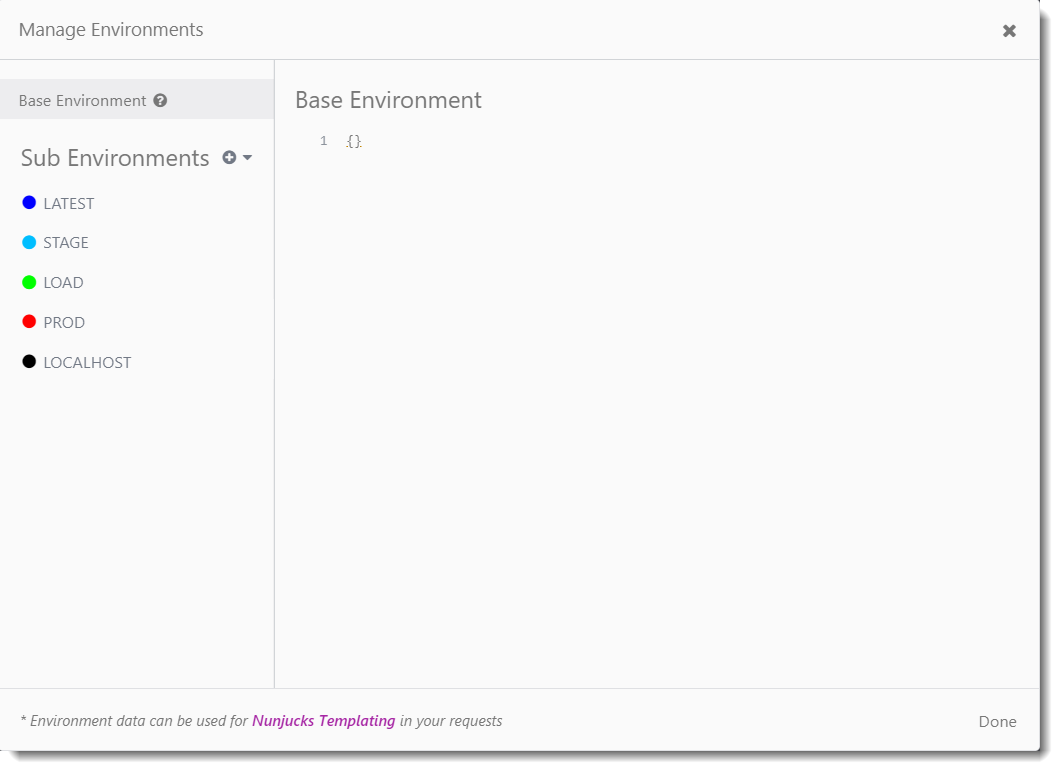
As indicated, we create all of the sub environments to ease the explanations that follow, click in the + to create and Environment or Private Environment, by default it creates an Environment. It names is as New Environment, by double-clicking on it, you can rename it, do so for LATEST, and repeat the process for STAGE, LOAD, PROD, and LOCALHOST.
Another nice feature is to give color to the environment. To do so, select the combobox named Color at the top right. Notice other options can be applied here.
| Environment | Color RGB |
|---|---|
LATEST |
(0,0,255) |
STAGE |
(0,190,255) |
LOAD |
(0,255,0) |
PROD |
(255,0,0) |
LOCALHOST |
(0,0,0) |
|
You may use the color you like best. |
Now that we have our Sub Environments created, we now need to populate the environment variables definitions.
|
In what follows, it is necessary to select any of the Environment we have defined in order to let Insomnia know to which it is referring to, and to properly associate Environment items. To do so, go to the main window and in locate the No Environment drop-down box and select Use LATEST to activate it. |
In the Manage Environment dialog, you see a section named Base Environment, which refers to the main area where Environment is defined taking values from any Sub Environment section as shown next.
|
When defining Environment items, Insomnia uses the JSON format to declare that configuration. |
Now it is time to declare a way to properly pass a value to the sample URL to the parameter text LATEST. As this depends on an ENVIRONMENT, we start to define a variable in the Base section with name param (of course, you can name it according to the context in your configuration).
{
  "param" : "" (1)
}| 1 | Define a variable in the Base section of the Manage Environments dialog. |
Notice we left the value as an empty string as we have not defined the reference in any of the Sub Environments sections. Click on the left to use the LATEST Sub Environment, and you see there that an empty JSON definition.
Type the following there
{
   "param_env" : "LATEST" (1)
}| 1 | Repeat the same step for every Sub Environment, putting in the value the name of the Environment where it is defined. |
|
As an easy convention to name variables here, observe how we named the param variable. The prefix is the name we wrote in the Base section and the suffix adds the part _env, forming the variable as param_env. |
Now that we have it defined in every Sub Environment, it is time to return to the Base section to complete the value for the param Environment variable.
Position the cursor inside the quotation marks and write {{ param_env }} ( notice the double curly braces around it and you may include the space around it or not, the application recognizes any form) manually, to which Insomnia will recognize as a Custom Variable and will denote it visually as shown next.
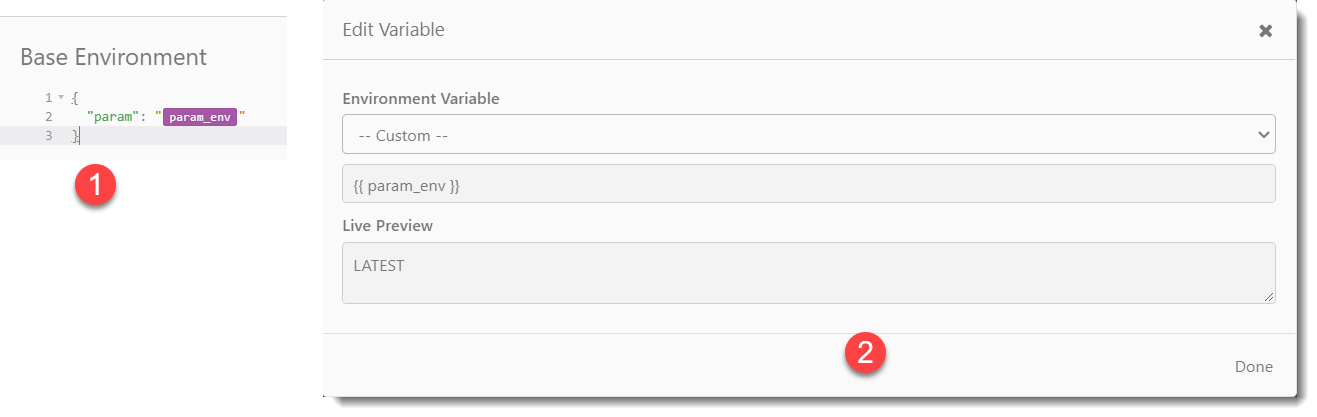
For the cues there
-
Shows how Insomnia indicates it is a custom variable.
-
If you double click over the param_env box, it opens this dialog, where you can edit its properties. Notice it has a Live Preview.
Now we are ready to modify the request to use this param Environment variable.
Click in the Done button (located at the bottom right corner) to save the changes.
Modify Request to use Enivornment Variable
Select the Retrieve Hello Message request to load it. Now replace the current text
http://localhost:8080/api/v1/hello/say/LATESTwith the following text
http://localhost:8080/api/v1/hello/say/{{param}} (1)| 1 | Notice that this refers to the Environment variable defined in the Base section in the Manage Environments dialog. |
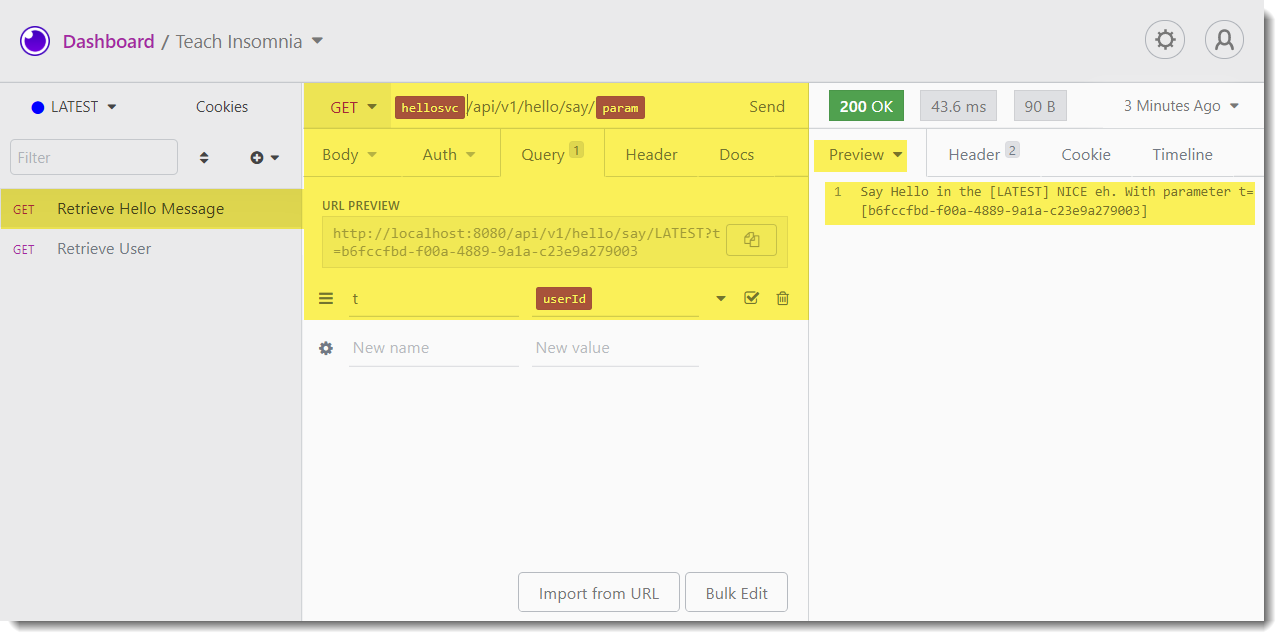
If you hit the Send button you will see the execution of this request, like

In the last image, pay special attention to the highlighted parts. Now if you change the Environment it uses the value defined to send to the URL.
Now you can practice to define a new Environment variable named hellosvc so the following image looks like this.
|
The naming convention used for the Environment variables depends on your organization or personal preferences on the matter. |

Now that you know how to define these Environment variables, you can use them wherever there is an input in the application.
Using Template Tags
There comes a time when you need to use the value computed from another request. By using a Template Tag you can accomplish this task. Let’s see how this is created.
First create another request named Retrieve User by using the following definition (import it or create it manually).
$ curl --request GET \
--url http://localhost:8080/api/v1/hello/extract/user (1)| 1 | Remember to replace http://localhost:8080 with the Environment variable hellosvc. |
After you call this URL the response it gives us is shown as
{
  "id": "73fd70c1-d13b-4316-8266-b60b235a2632",
  "name": "User",
  "surname": "Name"
}
And we are interested in retrieving the id field and use this as the query parameter in the Retrieve Hello Message request.
One nice thing that the Insomnia application offers is that you can extract values from JSON using a JSONPath syntax.
Open the Manage Environments to define a new variable named userId. As this is a global Environment variable, it is declared in the Base section.
Later, position the cursor insde the quotation mark for its value and start typing response and wait about one second when a popup autocomplete shows up.

After you select it and as this is the first time this Template Tag shows next
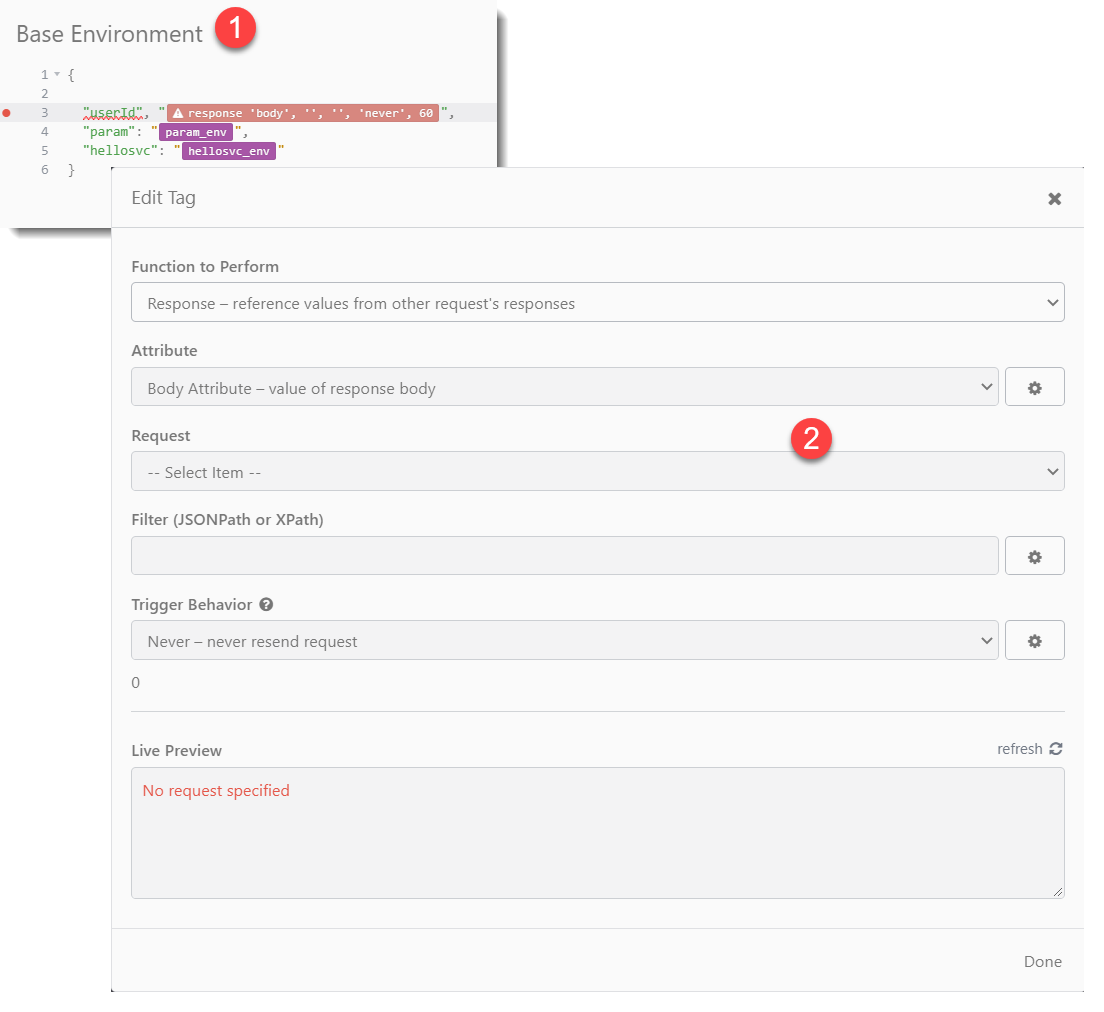
Where . When click the orange the popup shown in (2) is presented. . Popup window to define the properties to use.
In the previous popup window select the Request named GET Retrieve User and in the Filter (JSONPath or XPath) type the following.
$.id|
While you are typing the JSONPath expresssion, notice that in the Live Preview the system will evaluate and show the current text. |
Click Done button (bottom left corner) to accept the changes.
|
Remember that you are editing a JSON. |
Now you must see the final definition of this Template Tag as shown next.

Now that we have completed this definition, you can use in any request wherever an input text can be typed. To ilustrate this, we send a query parameter in the Retrieve Hello Message request.